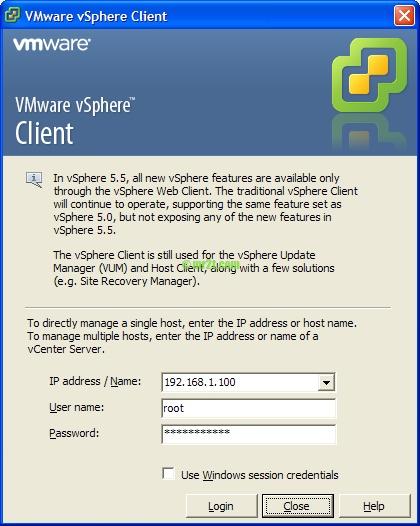
จากบทความที่แล้วเรื่อง Can’t connect to new ESXi 5.5 hosts with vSphere Client 5.5 พอแก้ไขปัญหาได้แล้ว เราก็มาติดตั้งตัว Vcenter Appliance 5.5 กัน ก็ follow ตามขั้นตอนนี้
To deploy the vCenter Server Appliance 5.x:
- Launch the vSphere Client or vSphere Web Client.
- Go to File > Deploy OVF Template.
- Browse to the location of the vCenter Server Appliance downloaded .ova or the .ovf file and click Open.
- In the OVF Template Details page, click Next.
- In Name and Location, enter the name of your vCenter Server Appliance and click Next.
- Select a datastore and click Next.
- Select a disk format and click Next.
- Click Finish.
สำหรับ user/password ที่ติดมากับตัว Appliance คือ root/vmware
ขั้นตอนถัดไปคือ กำหนด IP และ Default Gateway ชั่วคราว (หาก restart OS ค่าพวกนี้นะหายไป) ให้กับตัว VMware vCenter Server Appliance 5.5.0.5100 Build 1312297 ซึ่งเป็น SUSE Linux Enterprise 11 (64-bit) ผ่าน Console ด้วย command ดังนี้
|
1 2 3 4 |
localhost:~ #ifconfig eth0 192.168.1.101 netmask 255.255.255.0 up localhost:~ #route add default gw 192.168.1.1 |
จากนั้นเข้า Web Console
แ้ล้วเข้าเมนู Network -> Address,Proxy เพื่อไปตั้งค่า IP/Default Gateway หรือ Proxy(หากใช้งาน) ผ่าน GUI ดำเนินการ Save Configs พร้อมกับ restart Appliance ผ่านเมนู System -> Reboot ของ Web Console ได้เลย

จากนั้นทดลอง connect เข้า Vcenter Server แืทน connect ไปยัง host ตรงๆ เพื่อเข้าไป register host พบว่าเข้าไม่ได้ ขึ้น error เหมือนกับ Can’t connect to new ESXi 5.5 hosts with vSphere Client 5.5 เลย

วิธีแก้ไข คือ เพิ่ม tag <cipherList>ALL</cipherList> ภายใต้ tag <vmacore><ssh> ไฟล์ /etc/vmware-vpx/vpxd.cfg
|
1 2 3 4 5 6 7 |
จากนั้น restart vpxd service ดังนี้
|
1 2 3 |
localhost:~ #/etc/init.d/vmware-vpxd restart |
สามารถเข้าใช้งานได้แล้ว 🙂
ลิงค์เพิ่มเติม


